Photography Lighting Tips: Learn to See Before You Add Another Light
The camera records light. Before choosing another modifier or wondering whether a more expensive body will improve the picture, look at what the light is doing. Where does it come from? What does it reveal? What does it hide?
Learning to see those relationships makes portrait lighting less mysterious. Equipment gives you options, but observation tells you which option the photograph needs. This is the same practical idea behind our creative advice: understand the purpose before chasing the tool.

Change one thing and watch the result
Begin with one person and one light source. A window can work for the exercise. Photograph the same subject while changing only the direction of the light or the subject’s orientation. Compare the shadows, catchlights, and shape of the face.
Keep camera settings and framing reasonably consistent so the comparison is useful. Write down what changed. If you move the light, change exposure, replace the background, and adjust the pose at once, it becomes harder to understand which decision improved the image.
Study direction before brightness
More illumination does not necessarily create a better portrait. Light from beside the subject can reveal shape differently from light near the camera. A high source creates different shadows from a low one. Choose the direction around the feeling and information you want to convey.
Look at the eyes, nose shadow, cheeks, and background. A photograph may be bright enough while still putting emphasis in the wrong place. Small adjustments can change the hierarchy without adding another lamp.
Notice the apparent size of the source
A light source that appears larger from the subject’s position generally creates softer shadow transitions than a smaller one. Modifier size and distance both affect that apparent size. This is why the name of the modifier alone does not explain the look.
Move a soft source closer and compare the result, then farther away. Account for the exposure change and observe the shadows. The exercise teaches a relationship you can use with different equipment instead of memorizing one setup as a magic formula.
Include the background in the lighting decision
The subject and background share a frame, but they do not have to receive the same light. Watch how spill, distance, and camera angle affect the surroundings. Sometimes separation comes from a brighter subject; sometimes from a color difference or a carefully chosen darker area.
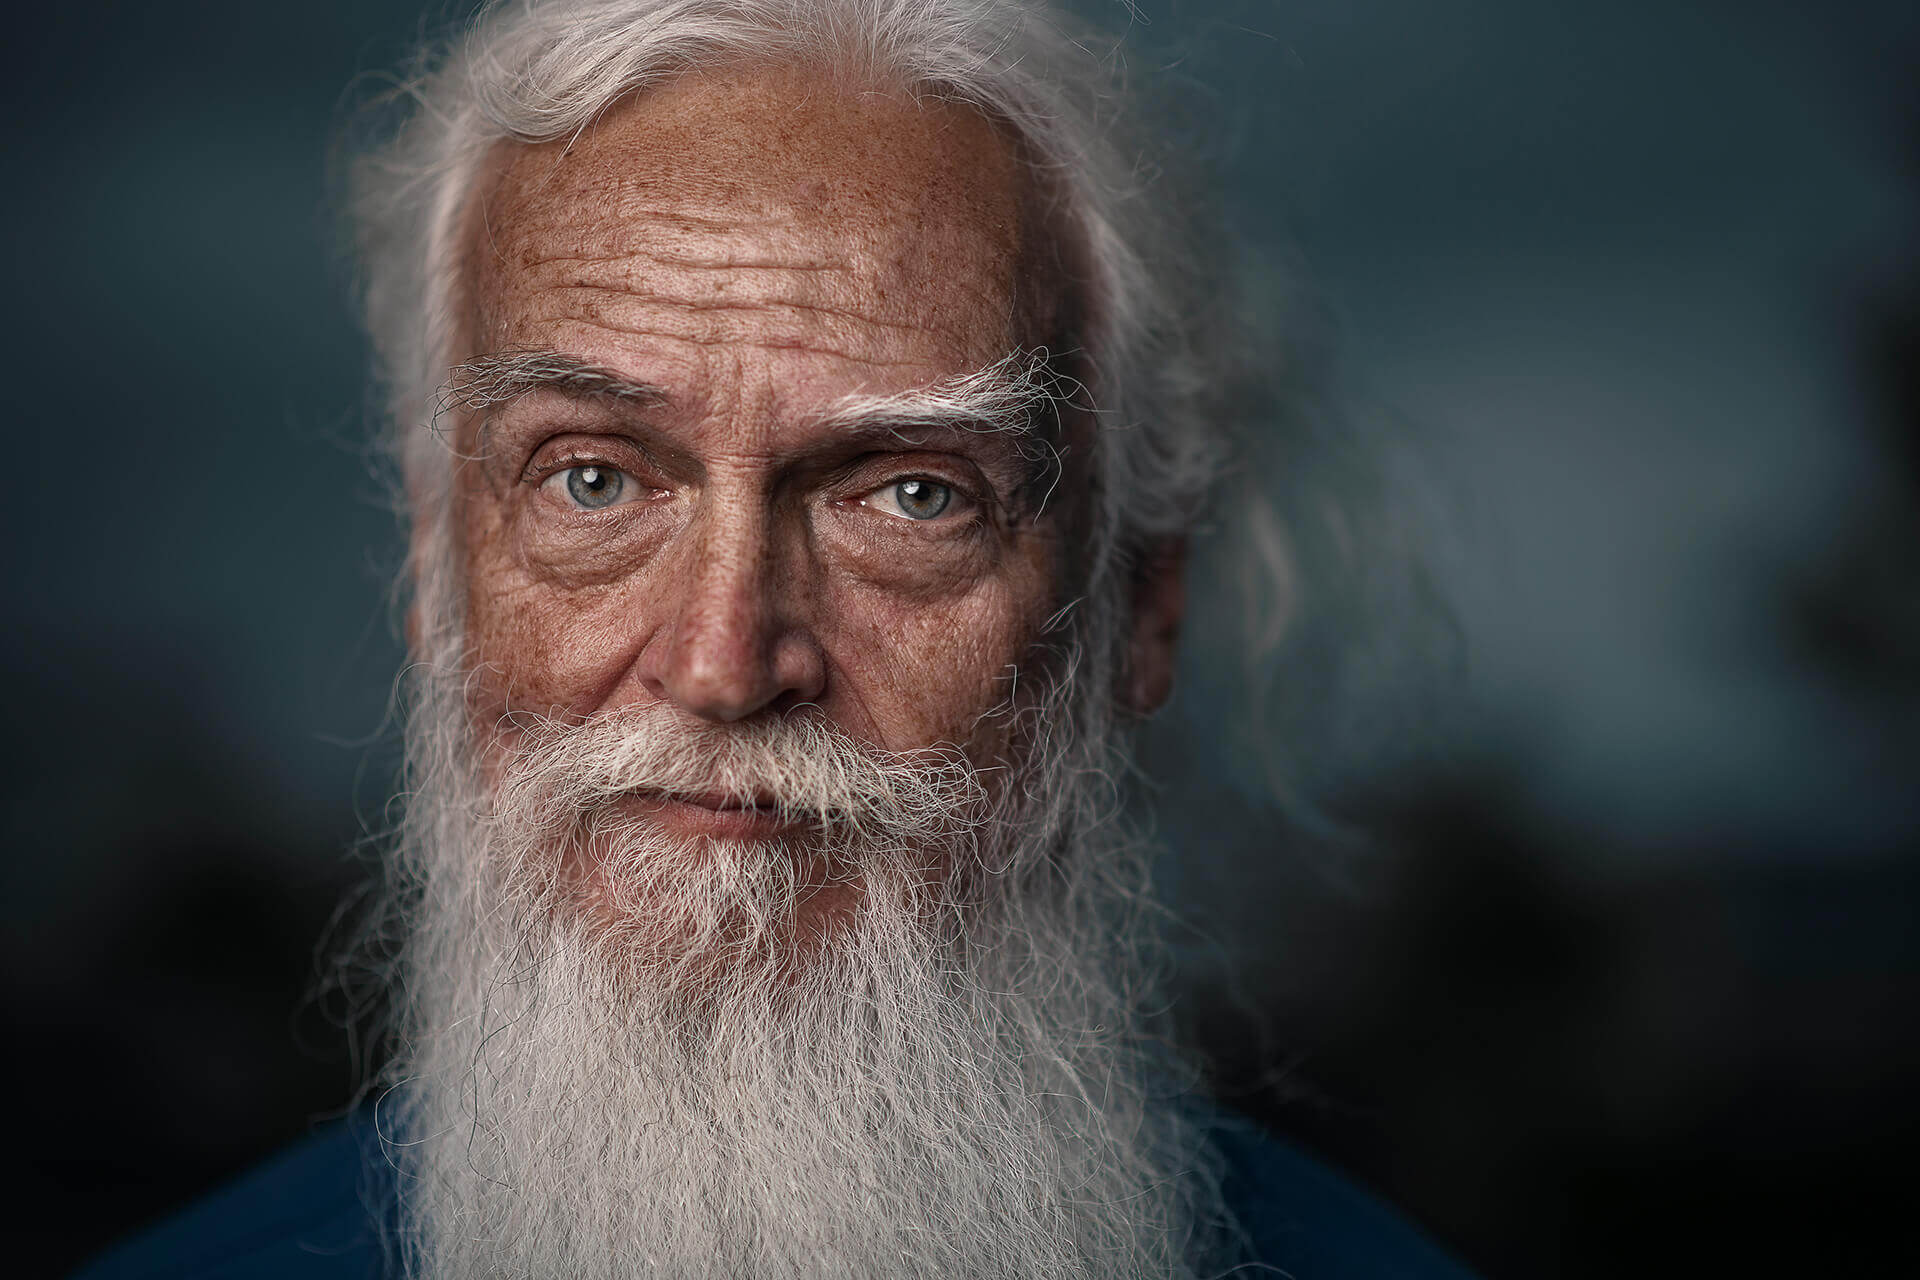
Spectacle’s portrait photography portfolio includes different lighting moods. Study where attention goes and how the subject stands apart. Use the images as observation exercises rather than assuming you can identify every piece of equipment from the finished photograph.
Build confidence through repeatable experiments
Practice on a simple setup until you can predict what an adjustment will do. Then add another variable. Save comparison frames and revisit them. A mistake becomes useful when it helps you understand a cause, not merely when it fills another memory card.
Do you need a studio to learn lighting? No. You need a manageable situation and the attention to compare results. A controlled space helps, but it is not the first requirement.
For clients, this is part of what an intentional portrait session provides: decisions about how the person should appear, supported by control of light. Explore Spectacle’s portrait work or contact us about a photograph with a clear visual purpose. For creatives, go make a few frames and pay attention to what changes.